If you’re diving into the world of video making, you’ve probably realized that there’s a lot more to creating a great video than just hitting the ‘record’ button.
We’ve got one word for you: lighting.
Lighting isn’t just about making things visible. It’s about setting a mood, directing focus, and transforming good shots into cinematic masterpieces.
And if you’re an aspiring vlogger or someone who’s always on the hunt for the latest tech gadget (we see you, techies!), getting your lighting game on point can make all the difference. Not only does it amp up your production quality, but it also gives you that professional edge.
Don’t believe me?
Studies show that videos with good lighting receive way more engagement than those without. So, gear heads, grab your notepads, and let’s illuminate this topic together!
Why lighting matters
You might think, “I’ve got a killer camera; why bother with fancy lights?” Well, no matter how top-notch your camera is, without the right lighting, its potential is… shall we say, dimmed.
1. Enhances video quality
Ever noticed grainy footage even with a 4K camera? Inadequate lighting is the culprit. Proper lighting ensures clarity, sharpness, and vibrant colors. Good lighting can even compensate for lower-resolution cameras.
2. Creates mood and ambiance
Ever felt chills watching a suspense scene? Or a cozy feeling in a vlogger’s room tour? Lighting, my friend! It crafts the emotional atmosphere of your video, making viewers feel the content.
3. Improves subject visibility and focus
Your main subject needs to stand out, right? Strategic lighting places the spotlight (literally) on what matters, guiding the viewer’s attention seamlessly. In essence, don’t leave your video in the shadows.

Basic lighting terminology
Diving into the world of video lighting can feel like learning a new language. But don’t fret!
Let’s decode the jargon together.
Key light, fill light, and back light
Your key light is the main light source, illuminating your subject. The fill light? It’s the sidekick that removes any harsh shadows the key light creates. And the back light? It’s the drama queen that adds depth by shining from behind.
Hard vs. soft light
Hard light creates defined shadows (think of a sunny afternoon), while soft light diffuses, offering a gentle, even look (like a cloudy day).
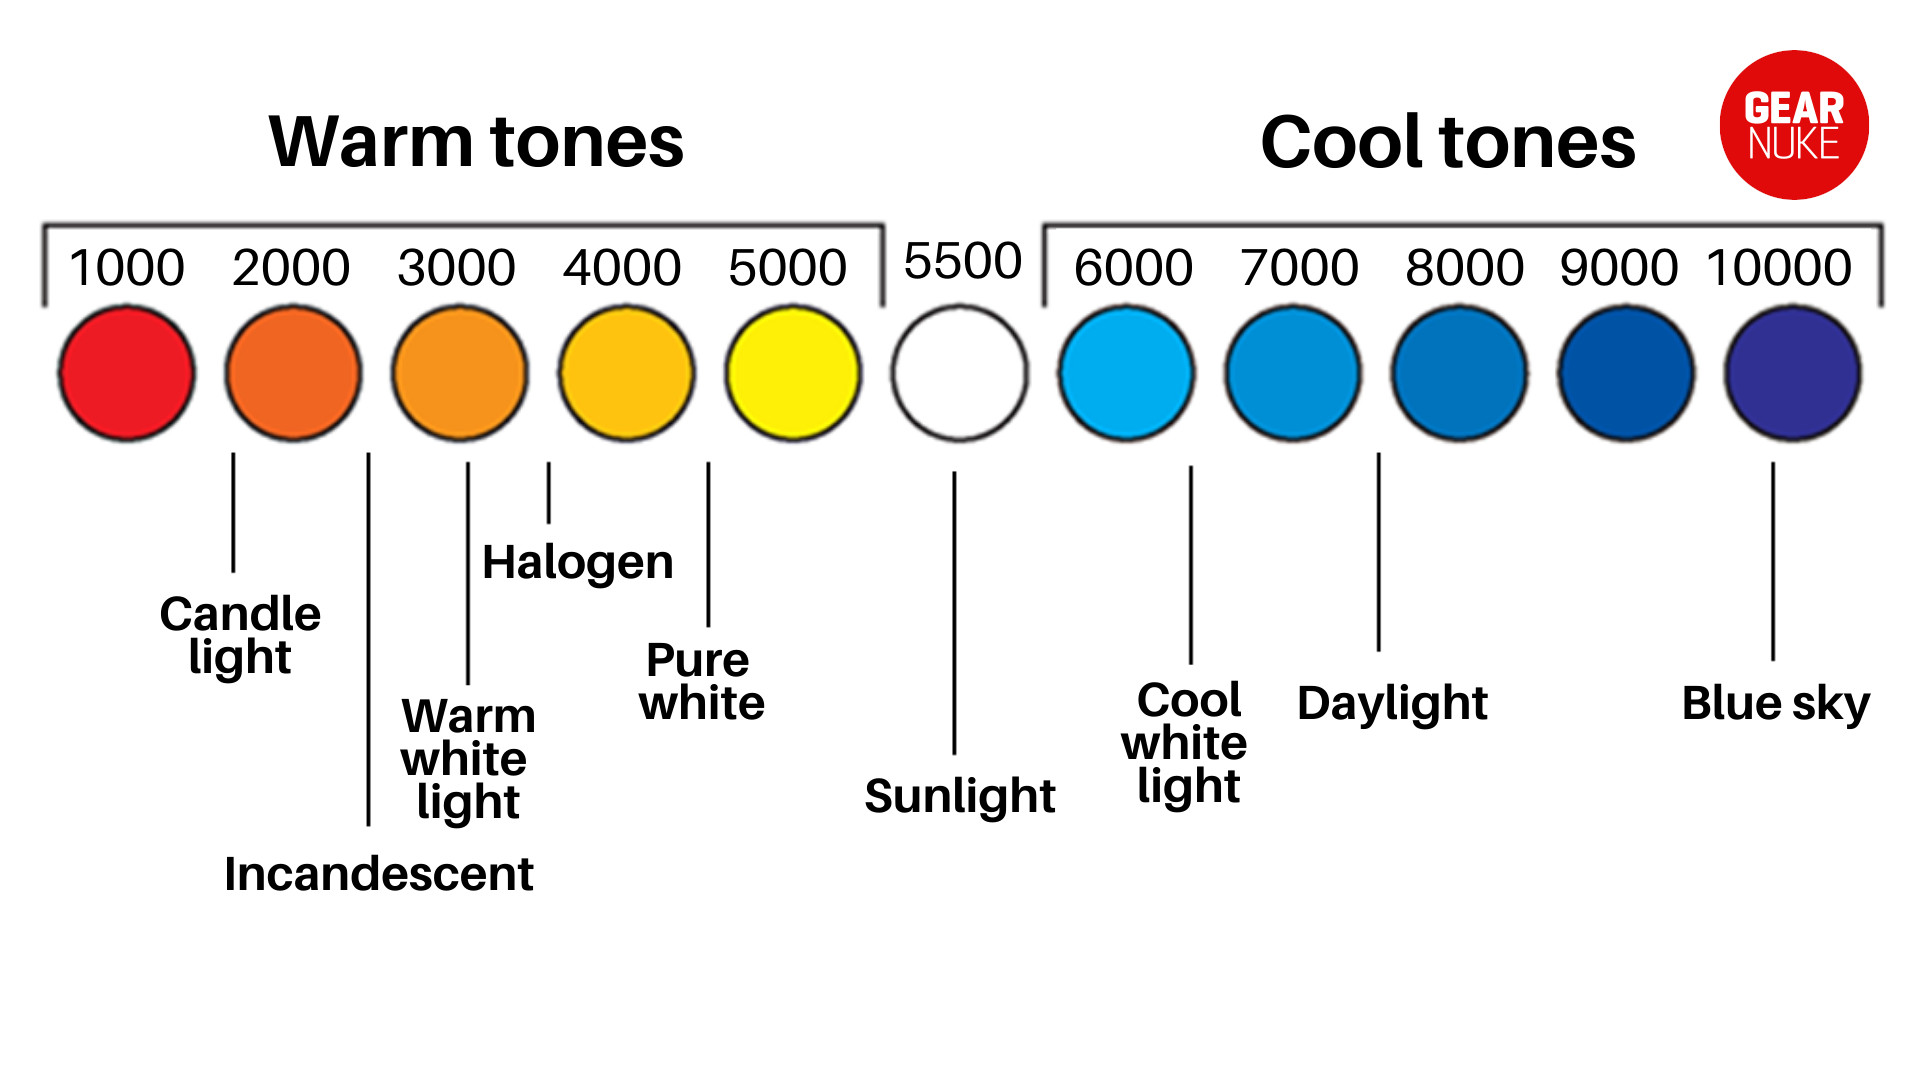
Color temperature (Kelvin scale)
It’s the “warmth” or “coolness” of your light, measured in Kelvins (K). Lower numbers = warmer tones; higher numbers = cooler.

Different types of video lighting
The vast world of video lighting is like a candy store for vloggers and tech aficionados! But before you dive into the latest gadgets, let’s understand the basics.
1. Natural vs. artificial lighting
We all adore the sun’s golden glow during the ‘magic hour,’ but we can’t always rely on Mother Nature.
That’s where artificial lights come to the rescue.
While natural light is free and gives that authentic feel, artificial light sources provide flexibility and control. Perfect for when the sun decides to play hide and seek.
2. Continuous vs. strobe lighting
Continuous lighting, as the name implies, stays ON. It’s great for video since you can monitor the light’s effect in real time.
On the other hand, strobe lights (or flashes) give short bursts of high-intensity light. Fantastic for freezing action in photography but can be a tad tricky for video work.
3. LED panels, ring lights, softboxes, and more
Now, for the fun part:
- LED panels: Energy-efficient, lightweight, and often adjustable in color temperature. These have been a game-changer!
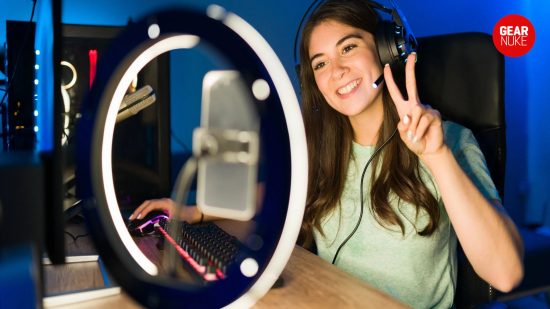
- Ring lights: Instagram influencers’ best friend. They provide an even light that’s super flattering for faces. Great for beauty vloggers.
- Softboxes: These beauties diffuse light, creating that soft, dreamy look. It’s like having a mini-cloud inside your studio.

Three-point lighting: a classic setup
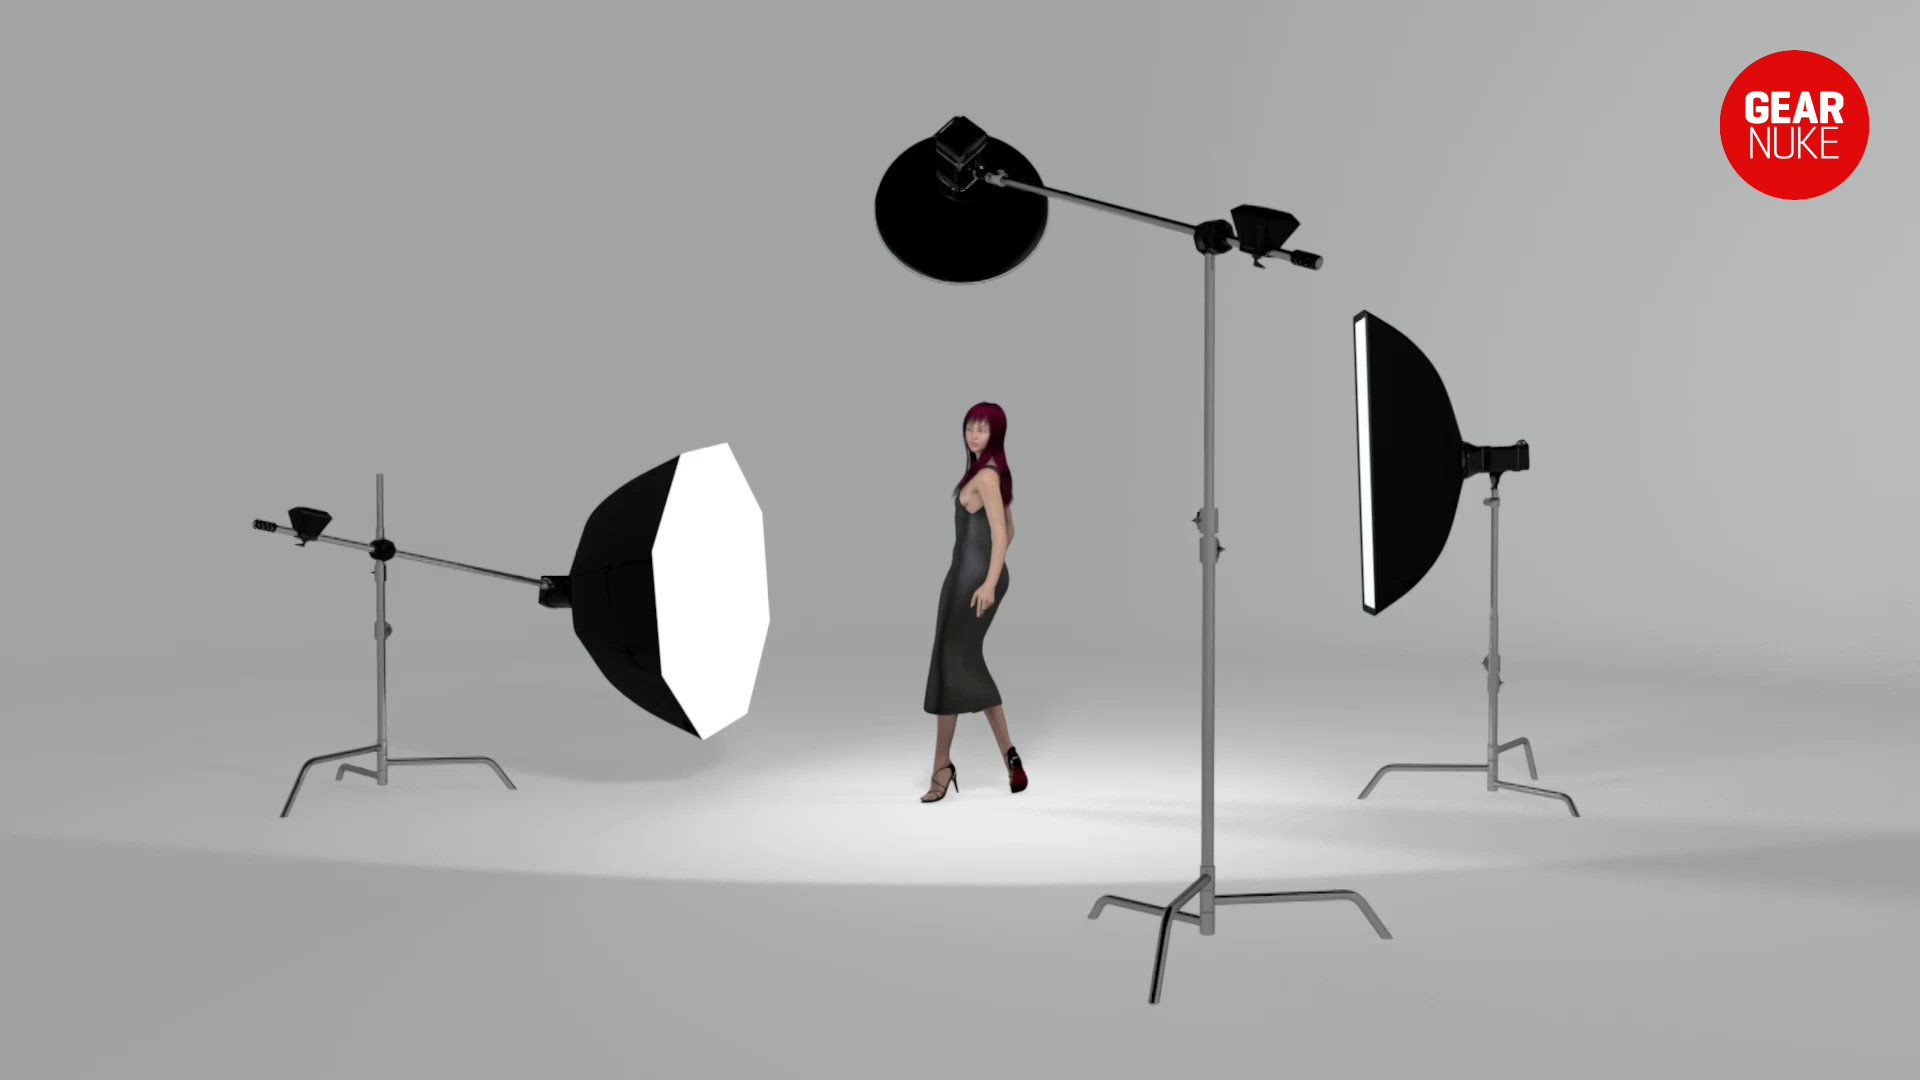
Lights, camera, action! But wait… where exactly should those lights go? Enter the timeless technique: three-point lighting. It’s like the holy trinity of video setups.
Let’s break it down.
1. Key light
This is your main actor. Positioned usually 45 degrees to the side of the subject, it casts the most light, setting the mood and defining the subject’s features. Think of it as the lead singer in your lighting band.
2. Fill light
The backup vocalist. Positioned opposite the key light, its main job is to fill the shadows cast by the key light, ensuring smooth transitions and softer contrasts. It’s usually softer and less bright.
3. Back light
Ever noticed that halo-like glow behind subjects in professional videos? That’s the back light! Positioned behind and above the subject, it creates depth and separates them from the background.
Adjustments for vlogging vs. formal setups
Vlogging on the go? Maybe you don’t need all three. A key light combined with natural light can do wonders. For more formal setups, like interviews, embrace the full trio for a polished look.
Factors to consider when choosing lighting equipment
Lights can truly make or break a video. But with so many options out there, where do you even begin?
Before you get swayed by shiny gadgets or nifty advertisements, take a moment to consider these crucial factors.
1. Your filming location (indoor vs. outdoor)
An outdoor shoot bathing in natural light requires different gear than a dim indoor setting. While you might want to use reflectors and diffusers outdoors, indoors could have you reaching for softboxes or LED panels.
2. Portability needs
Are you a travel vlogger constantly on the move or a studio-bound content creator? Portable and lightweight gear, like compact LED panels or collapsible reflectors, might be your best friends for on-the-go filming.
3. Power source (battery vs. plug-in)
Batteries offer mobility, ideal for outdoor shoots where outlets are mythical creatures. However, for longer shoots, plug-in lights ensure you don’t fade to black mid-scene.
4. Adjustable settings and controls
Your light should work for you, not the other way around. Seek out equipment with adjustable brightness, color temperature, and even direction. Trust me; adjustable lighting is handy when trying to get that perfect shot.
5. Price vs. quality
We all love a good bargain, but sometimes you get what you pay for. It’s worth investing in quality lighting that will stand the test of time rather than opting for cheaper models that might let you down in crunch time.

Tips for achieving the best lighting
Now for the elusive pursuit of the “perfect” lighting. Whether you’re chasing that soft, dreamy look or a sharp and dramatic vibe, mastering your lights is an art.
Here are some nifty tricks to get you started.
- Use diffusers and reflectors: Want to soften those harsh shadows or enhance facial features? Diffusers and reflectors are your BFF. They help scatter light, producing a more even and flattering glow.
- Adjust the angle and distance of the lights: Play around! Moving your light source closer can increase its intensity while angling it can create a mood.
- Manipulate natural light sources: Don’t underestimate the power of sunlight. Use curtains, blinds, or even strategically placed objects to control how it enters your scene.
- Keep an eye on shadows and highlights: Monitor those shadows! Shadows can add depth, but misplaced ones can distract. Also, avoid overexposing highlights.
Common mistakes to avoid
Lighting can make or break your video, but even seasoned vloggers can trip up occasionally.
Here’s a heads-up on a few pitfalls:
- Overexposing your subject: When your subject looks like a UFO spotlight has hit them, you’ve gone too far.
- Relying solely on natural light: Mother Nature is fabulous, but she’s also unpredictable.
- Ignoring the background lighting: A brilliantly lit subject against a murky background? No thanks.
Avoid these hiccups, and let your content shine bright!
Conclusion and final thoughts
Good lighting isn’t just a luxury—it’s a necessity! Investing in the right setup can truly elevate your videos.
Ready to get started? Head over to our reviews section and check out the latest gadgets for video, lighting, and vlogging.
