Knowing How to screenshot on Mac can make all the difference whether you’re trying to share anything from portions of your screen to specific web pages and even videos with the screen recording function. No matter which device you own, whether it’s the best MacBook on the market or even a stationary iMac, or anything in between, there are various ways to screenshot on a Mac, which we’re going to guide you through in this article.
The various approaches to clipping and screenshotting on a Mac or MacBook can easily be paired with whatever type of content you’re looking to capture, depending on your situation. This guide will not only run you through the process of taking screenshots but also explain how to screen record and where to find those shots and videos once you’re done setting them up.
- How to open the Screenshot App
- How to take a full-screen screenshot
- How to screenshot a specific area of the screen
- How to take a screenshot of a specific window or menu
- How to record your screen on Mac
- Where to find your screenshots and screen recordings on Mac

How to screenshot on Mac
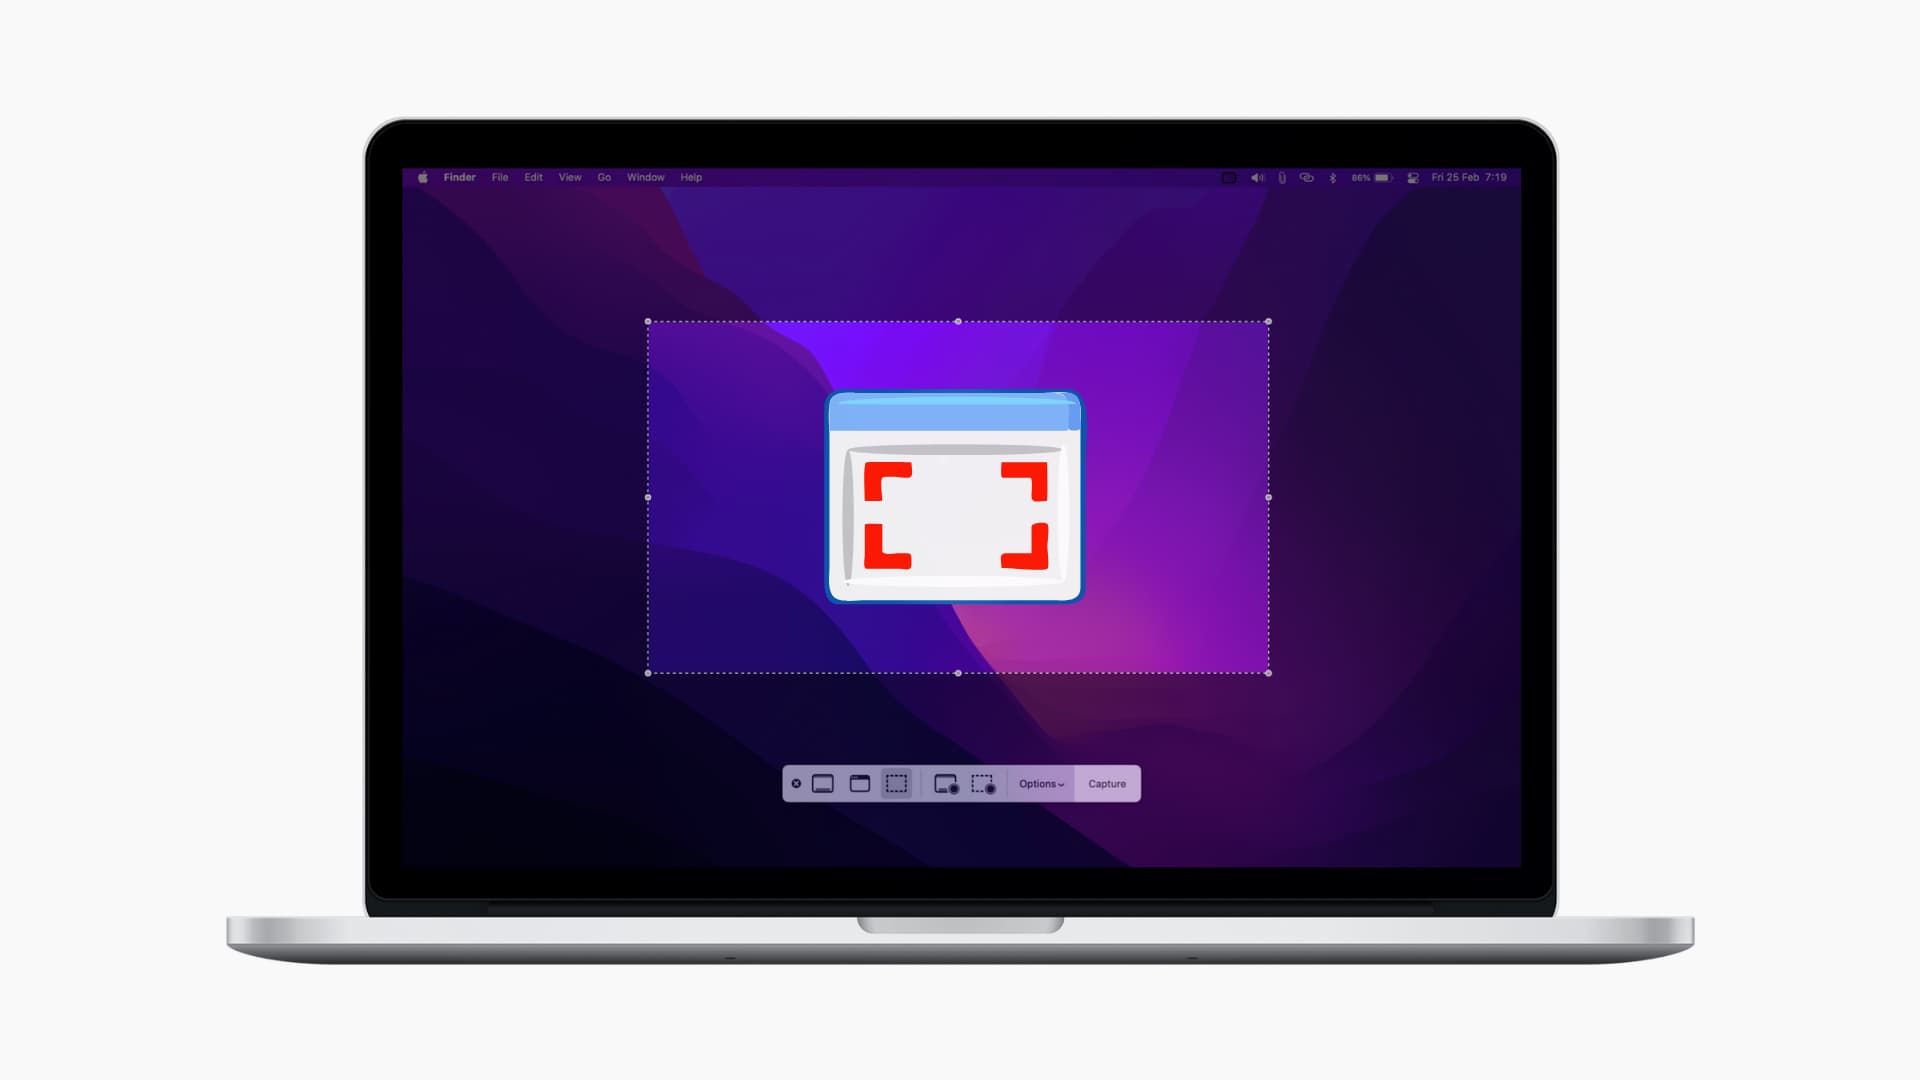
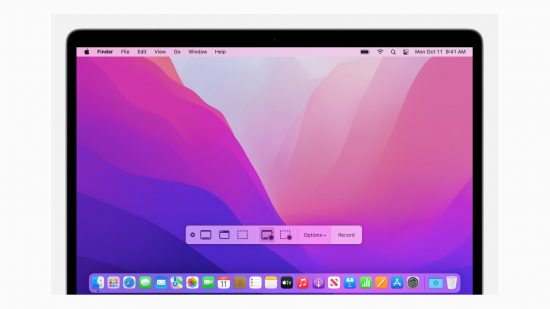
How to open the Screenshot App
- Press Shift Key + the Command Key + 5 or search for Screenshot in your Mac’s Spotlight Search
- Toggle screenshot type using the Screenshot submenu
- Click on the screen or press the capture option to take the screenshot
How to take a full-screen screenshot
- Press the Shift Key + the Command Key + 3
- The screenshot will be taken and saved to your desktop
- Click the image icon at the bottom right of the screen to quickly inspect the screenshot
How to screenshot a specific area of the screen
- Press the Shift Key + the Command Key + 4
- The cursor will become a crosshair icon; click and drag over the space you want to screenshot
- If you want to move your selection, hold the Space Bar
- If you want to start again, press the Esc key to exit the screenshot mode
- When you release left-mouse click, the screenshot will be taken and saved to your desktop
- Click the image icon at the bottom right of the screen to quickly inspect the screenshot
How to take a screenshot of a specific window or menu on Mac
- Press the Shift Key + the Command Key + 4 + the Space Bar.
- The cursor will become a Camera icon; as you drag it over a window or menu, it will be highlighted by a light blue filter.
- Click to take the screenshot
- The screenshot will be taken and saved to your desktop
- Click the icon to bring up the image to inspect
How to record your screen on Mac
Apple Macs with the Screenshot app feature a native screen recording function; however, before you start recording, it’s important to note that certain web pages and apps will not allow this function. In these cases, you’ll find the portion of the screen will appear blank in the recording. When recording your screen, you can choose between capturing the whole page or just a portion of it.
- Press Shift Key + the Command Key + 5 to open the Screenshot App
- Using the submenu choose Record Entire Screen or Record Selected Portion.
- To record the whole screen, click anywhere to begin the recording, and to record the selected portion move the box and press Record in the submenu.
- When you’re ready to finish your recording, press the stop button, which will be located in the menu bar at the top of the screen, identified as a grey circle with a square stop symbol inside.

Where to find your screenshots and screen recordings on Mac
Once you’ve captured your screenshots, they will save as a PNG to your desktop, denoted by the title ‘Screenshot’ followed by the date and time the image was captured.
Screen recordings will be saved as .mov files and will be found on your desktop under ‘Screenrecording’ followed by the date and time they were taken. You can toggle where you would like screenshots or recording to be saved using the options tab in the Screenshot app.
